

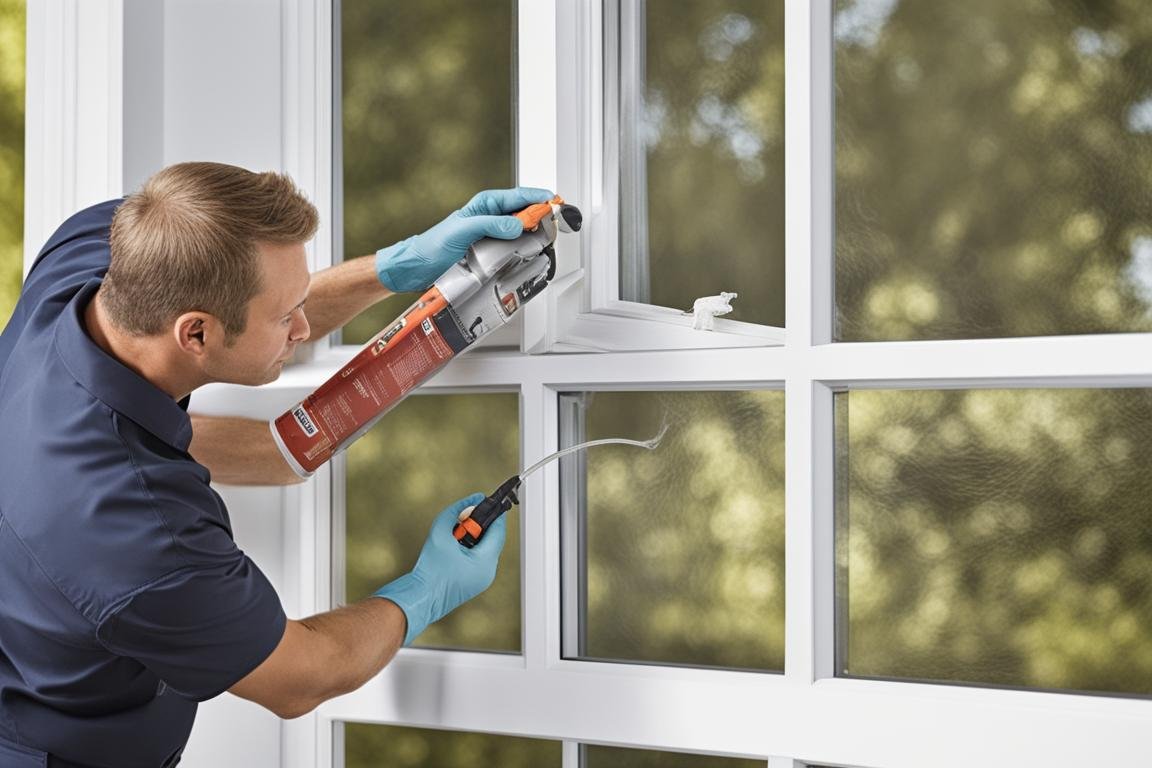
Effective pest control often starts long before pests become visible inside the home. Understanding where they enter, and why those access points are so easy to overlook, can help homeowners prevent recurring problems and make pest-proofing efforts more effective.
Why We Miss Pest Entry Points
Pest entry points are easy to miss because many of them do not look like obvious openings. A gap around a utility pipe, a worn door sweep, a loose soffit edge, or a small separation where two building materials meet can appear insignificant during a normal walk around the house. To insects and rodents, those spaces can be entirely usable.
Homeowners also tend to notice pest activity after it reaches living areas. Droppings in a cabinet, ants near a sink, scratching in a wall, or insects around a window create an immediate signal that something is wrong. The access point may be several feet away, hidden behind siding, beneath a deck, inside a crawl space, or along the roofline.
Seasonal movement adds another layer. Openings that caused no visible issue in summer may become important when temperatures drop, food becomes scarce, or pests begin looking for protected nesting areas. A home can have vulnerable pest entry points for months before conditions encourage pests to use them.
Another reason is that pest access is often intermittent. A gap may only become usable when a door shifts in cold weather, when wind lifts a loose vent flap, when a branch grows close enough to reach the roofline, or when moisture attracts insects to one part of the structure. These conditions can make the problem difficult to reproduce during a casual inspection.
Homeowners also tend to judge openings visually, while pests respond to dimensions, airflow, scent, warmth, moisture, and protected travel paths. An opening that seems insignificant to a person can function as part of a much larger route through wall voids, soffits, crawl spaces, or utility chases.
Common Pest Entry Points People Overlook
Some of the most frequently missed entry points are the places where different parts of the building connect. These transitions often contain narrow gaps that are difficult to see unless someone is specifically looking for them. Many common pest entry points occur at these junctions rather than in the middle of large, uninterrupted surfaces.
Common examples include gaps around plumbing, electrical lines, cable penetrations, dryer vents, air-conditioning lines, attic vents, roof returns, soffits, fascia boards, garage door edges, crawl-space vents, foundation penetrations, and the joints where siding meets trim or masonry.
Doors and windows also deserve closer attention. A door may appear fully closed while leaving a narrow opening along the bottom corner. Window screens can pull away from their frames, and weatherstripping can compress or split over time.
Roof-level openings are especially easy to overlook because homeowners rarely inspect them closely. Loose flashing, damaged vent screens, gaps beneath roof edges, deteriorated soffits, and openings around chimneys can give insects, bats, birds, squirrels, and other wildlife access to attic spaces. These are common pest entry points that may remain unnoticed until activity is already established.
Hidden Home Entry Points For Pests
The hardest entry points to notice are usually outside the normal line of sight. Rooflines, attic vents, soffits, crawl spaces, areas behind shrubs, spaces underneath decks, and utility penetrations on less-used sides of the home can remain unchecked for long periods. These hidden areas often contain home entry points for pests that are difficult to detect during routine maintenance.
Openings behind appliances are another common blind spot. Plumbing and gas lines often pass through walls or cabinets behind refrigerators, dishwashers, washing machines, stoves, and water heaters. If the penetration around the line was never fully sealed, pests may use the wall cavity as a protected travel route.
Garage transitions can also be deceptive. Gaps where the garage door meets the floor or frame may change as seals age, concrete settles, or tracks move slightly out of alignment. The doorway between an attached garage and the home can then become a second access point and one of several possible home entry points for pests.
Small changes caused by weather and building movement are difficult to detect during daily life. Caulk shrinks, wood expands and contracts, screens loosen, mortar deteriorates, and seals wear gradually, so the homeowner becomes accustomed to the appearance before recognizing that a functional opening has formed.
For example, a homeowner may see an intact dryer vent cover without realizing the duct connection behind it has a gap. A roof return can look normal from the driveway while providing access beneath an overhanging edge. A garage door may appear flush across most of its width but leave a small triangular opening where the bottom seal meets the track. These small defects can become practical home entry points for pests even when the surrounding structure appears secure.
Why We Focus On Pests Instead Of Pest Entry Points
Visible pests create a clear and immediate problem. A trail of ants, a mouse in the kitchen, or a cluster of insects near a window naturally draws attention because the activity is happening in a space people use every day.
The conditions behind that activity are often less noticeable. Moisture beneath a sink, food debris under an appliance, dense vegetation touching the siding, an unsealed pipe opening, or a damaged vent screen may be contributing to the problem without producing an obvious warning.
Pest activity can also occur some distance from the actual access point. A mouse entering through a garage gap may travel through a wall before appearing in a pantry. Ants may enter around an exterior utility line and emerge through a tiny interior crack near a countertop.
That separation encourages what might be called “point-of-sighting treatment”: spraying where ants appear, placing traps where a mouse was seen, calling an exterminator, or sealing the crack beside a visible insect. Those actions may reduce immediate activity without identifying how the pest entered the structure in the first place.
A more useful investigation treats the sighting as evidence rather than as the source of the problem. Where could the pest travel from? What structural voids connect to that area? Is there moisture nearby? Does an exterior wall, utility penetration, garage, attic, or crawl space connect to the same pathway?
Effective pest management becomes more reliable when the investigation follows the pest’s likely path through the structure and considers access, shelter, food, water, and nesting conditions together.
Habits That Hide Pest Entry Points
People become highly familiar with the normal appearance of their homes. That familiarity can make gradual deterioration difficult to recognize. A small gap beneath a door, a cracked vent cover, or a loose section of trim may become part of the background because the change happened slowly.
A door sweep that gradually wears down may still register mentally as “the sealed garage door.” A vent repaired several years ago may remain categorized as “fixed,” even after its screen loosens. Landscaping that once sat several feet from the structure can slowly grow until branches, vines, or shrubs touch the building.
Assumptions about size also play a role. Homeowners may judge an opening by whether it looks large enough for a pest they have seen. Many common pests can use surprisingly narrow spaces, and insects may exploit openings that seem almost insignificant.
Routine cleaning patterns create blind spots as well. Frequently used rooms receive close attention, while attic corners, crawl spaces, mechanical rooms, garage edges, storage areas, and the exterior behind landscaping may be inspected only occasionally.
Home improvements can create new vulnerabilities too. Installing internet lines, replacing HVAC equipment, adding outdoor plumbing, running electrical cables, repairing siding, or remodeling a kitchen can introduce new penetrations. Once the work looks finished, the sealing around those penetrations may receive little further attention.
A better pest-proofing question is therefore not only “Where are the openings?” but also “What has changed since the last inspection?” New utility work, weather damage, settling, plant growth, material shrinkage, and repeated use can all change how accessible a home is without producing an obvious defect. Recognizing these changes is an important part of learning how to pest proof a property effectively.
Effective Pest Proofing Methods
A systematic inspection is one of the most effective pest proofing methods because it reduces the chance of skipping areas. One useful method is to inspect the home by transition rather than by room.
Follow the places where one component meets another: foundation to siding, siding to trim, window frame to wall, pipe to masonry, roof to vertical wall, soffit to fascia, door to threshold, and vent housing to exterior surface. These junctions are more informative than scanning large uninterrupted wall areas and are where many pest entry points are found.
It also helps to inspect from both sides whenever possible. An opening that is difficult to see outdoors may be obvious from inside a garage, attic, crawl space, basement, or cabinet.
The interior inspection should include corresponding areas such as cabinets beneath sinks, spaces behind appliances, mechanical rooms, garages, basements, attics, and crawl spaces. Signs found indoors can help narrow down where an exterior opening may exist.
It helps to think in terms of routes rather than holes. Ask how a pest could get from the yard to the wall, from the wall to a structural void, and from that void into the occupied part of the house. That approach often identifies pathways that a standard crack-and-gap checklist misses, including branches leading to rooflines, pipes entering through concealed spaces, gaps behind decorative trim, and openings created during later renovations.
A second method is evidence-led inspection. Look for material displacement, small accumulations of debris, rub marks, gnawing, droppings, shed insect parts, staining, damaged insulation, or recurring spider webs around openings. These clues can reveal movement even when the opening itself is difficult to see. Evidence-led inspection is especially useful when other pest proofing methods have not revealed the source of recurring activity.
Lighting also matters. A strong flashlight can reveal narrow gaps, damaged screens, droppings, rub marks, and openings that are nearly invisible under normal room or daylight conditions.
Materials should be selected according to the opening and the pest pressure. Exterior-grade sealants can work well for small stationary gaps. Larger openings may require durable mesh, metal flashing, mortar, hardware cloth, fitted vent covers, door sweeps, weatherstripping, or repairs to damaged building components. Areas exposed to rodents generally require materials that can resist gnawing and remain securely attached. Choosing appropriate materials is one of the pest proofing methods that helps repairs remain effective over time.
It is useful to document what was inspected and repaired. A simple photo record makes future inspections easier because homeowners can compare seals, screens, vents, and building joints over time instead of relying on memory.
What Practical Pest Proofing Involves
Practical pest proofing is an ongoing form of home maintenance and an important part of preventive pest control. It includes managing the features that make a property easy to enter, travel through, shelter in, or feed around.
Good pest proofing involves maintaining the building envelope as a system. An opening may matter because a nearby condition makes it useful. A small gap beside a pipe becomes more attractive when the area also provides warmth or moisture. A roof-level opening becomes easier to reach when a branch touches the structure. A garage gap becomes more significant when stored birdseed, pet food, or cardboard provides food or shelter nearby.
Outside the home, that may involve trimming branches away from the roof, keeping shrubs from pressing against siding, moving firewood away from exterior walls, cleaning gutters, repairing drainage problems, securing trash containers, maintaining screens, and checking exterior vents. These maintenance steps can support broader pest prevention and complement termite control by reducing moisture and wood-to-soil conditions around the structure.
Inside, useful measures include repairing leaks, reducing persistent humidity, storing food securely, cleaning beneath appliances, avoiding long-term accumulation of cardboard and clutter, and checking areas where plumbing or wiring enters cabinets and walls.
Monitoring is another useful part of the process. Sticky monitors, pest sightings, droppings, damaged packaging, gnaw marks, shed insect skins, or recurring activity near one part of the house can indicate where a closer inspection is needed.
The goal is to make access difficult while reducing the resources and protected spaces that encourage pests to remain once they reach the property.
It also means avoiding indiscriminate sealing. Some openings are designed for ventilation, drainage, pressure equalization, or moisture management. Effective pest proofing protects those functions with suitable screens, guards, or properly fitted components rather than simply blocking everything that looks open. The objective is to pest proof vulnerable areas without interfering with necessary building functions.
When To Recheck Pest Entry Points And Pest Proofing
A thorough inspection at least twice a year is a practical schedule for many homes, especially around major seasonal changes. Spring inspections can identify winter damage and emerging insect activity, while fall inspections can address openings before rodents and other pests begin seeking warmer shelter.
A calendar-based inspection is useful, but event-based inspections are just as important. Additional inspections are useful after severe storms, roof repairs, siding work, plumbing or electrical installations, HVAC replacement, foundation work, landscaping changes, or any project that creates new penetrations through the building envelope.
Homes with a history of pest activity may benefit from more frequent checks in known problem areas. Door sweeps, garage seals, vent screens, utility penetrations, crawl-space openings, and locations where previous infestations occurred can be reviewed every few months. Rechecking these areas can also reveal common pest entry points before they become active routes again.
It is also useful to recheck previously repaired locations. Preventive measures should be updated whenever the structure changes. Sealants age, screens loosen, doors shift, wood deteriorates, and buildings settle. An opening that was secure during one inspection may require attention later.
Regular inspections keep prevention proactive. Small repairs are generally easier to manage when they are found before an opening becomes an established entry route or nesting site.
The best inspection schedule therefore combines routine seasonal reviews with targeted inspections whenever the home itself has changed.