Photography is the magic of capturing fleeting moments and turning them into everlasting memories. If you are a beginner photographer, you probably dream of creating breathtaking photos. To get inspired, it is worth observing the work of experienced photographers. Their ability to capture emotions and details often requires long learning, but you can often see how they work! In this article, we present six ways to help you create your own successful photoshoot.
Planning and Preparation
The first step to a successful session is thorough planning. Think about the theme you want to explore and the emotions you want to capture. Will it be a romantic session in the park, dynamic sports photos, or atmospheric portraits in an urban jungle? Planning and preparing a photoshoot is a crucial stage that can significantly affect the final outcome of your work. A well-organized session involves not only technical aspects but also creativity, inspiration, and the ability to learn from others’ experiences. Below are a few steps to help you plan and prepare a successful photoshoot.
Find Inspiration
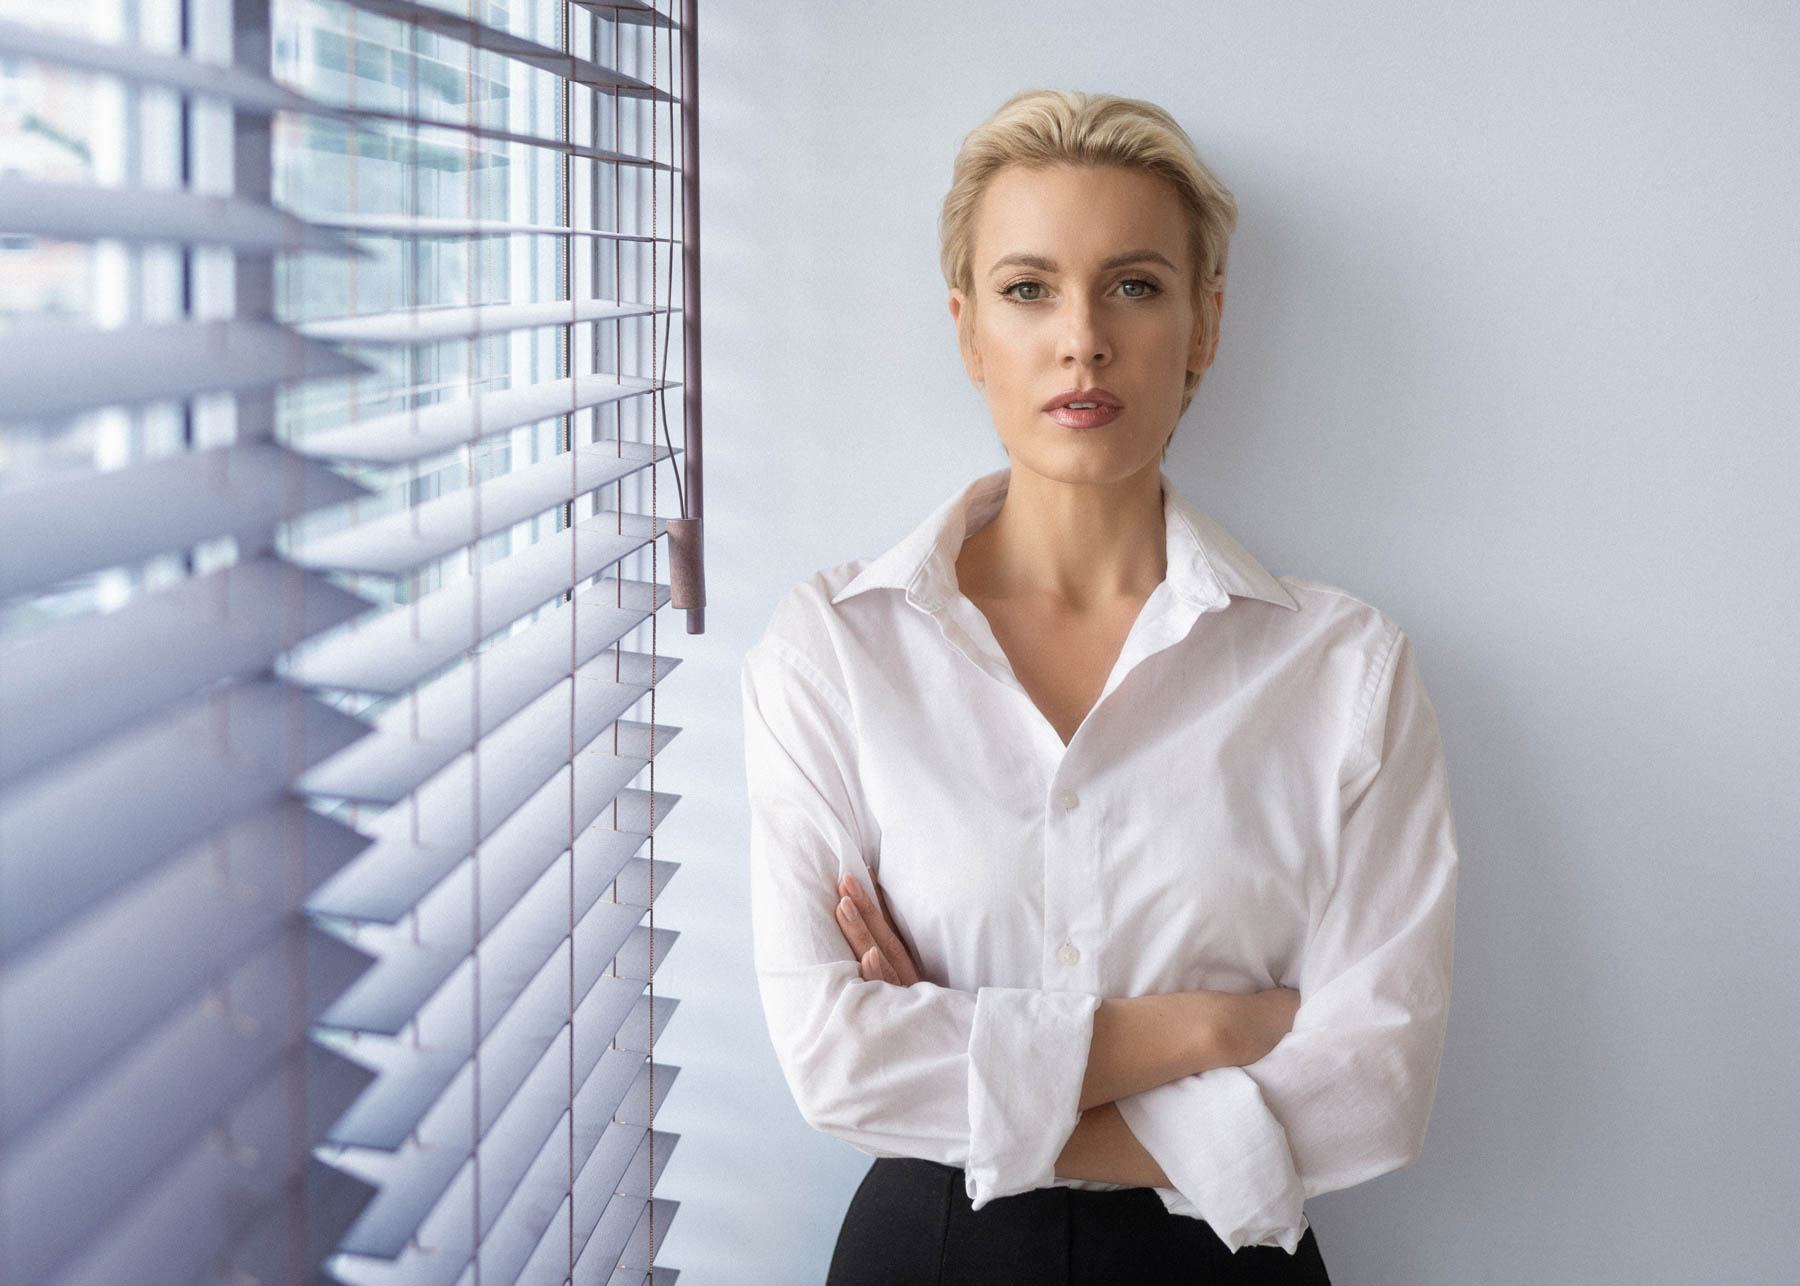
The first step is to find inspiration. Browse the portfolios of top photographers, such as the works available on the website Warsaw Photographer. Pay attention to different styles, techniques, and compositions. Inspiration doesn’t mean copying but learning and adapting best practices to your own projects. When you find a photographer whose work inspires you, there’s a good chance they’re well-known. And if so, they may have published their own guide or run photography courses. Check if this person provides a ready-made recipe for their photos.
Choosing the Theme and Location
Defining the theme and location of the shoot is the next step. Think about the mood you want to capture and what background will be most appropriate. It could be an outdoor session, in a studio, or even in your own home. It’s important that the location matches the theme and mood of the session. Check the weather forecast if you plan to shoot outdoors, and make sure you have permission to photograph in the chosen location if required. It’s best not to start with very specialized topics that require very specific light settings, like business portraits (see example effects here), but simply with an outdoor session. It will teach you how to work with models and help you master the equipment. Tip: for an outdoor session, shoot during the golden hour, which is 1-2 hours before sunset.
Prepare Your Equipment
Once you have an idea for the session, it’s time to prepare your equipment. Make sure your camera is charged, memory cards are empty, and lenses are clean. It’s worth bringing extra batteries and memory cards to avoid unpleasant surprises. If you plan to use additional lighting, tripods, or props, make sure everything is fully functional and ready to use.
Create a Shot List
Before starting the session, it’s worth creating a shot list you want to take. This will help you stay organized and not miss any important frames. You can also make sketches or notes regarding composition, model poses, or lighting settings. Such a list is especially useful during more complex sessions, where the number of elements to remember can be overwhelming.
Play with Light
Light is one of the most important elements of photography. Natural light, especially at sunrise and sunset, creates incredible effects that are hard to achieve in artificial lighting. Experiment with different light sources, shadows, and reflections. If you are shooting indoors, use soft light coming through a window or invest in studio lamps. Remember that skillfully operating light can dramatically change the character of a photo.
Frame Composition
When you have an idea for the session and the right light, it’s time to deal with frame composition. The golden rule of thirds is a great starting point. Imagine the image divided into nine equal parts by two horizontal and two vertical lines. By placing key elements of the photo on these lines or at their intersections, you will achieve a more interesting and dynamic composition. Don’t be afraid to experiment with different perspectives and angles – surprising shots often come from the most unobvious places.
Working with Models
There is a big difference between photographing an experienced model and someone who doesn’t know how to pose. The more you are a beginner, the easier you will make your life working with someone more experienced. If you have the opportunity to work with models, ensure their comfort and a good atmosphere on set. Good relationships with the people you photograph greatly impact the final result. Talk, laugh, create a friendly atmosphere. Remember that even the smallest details, such as slight adjustments in hair or clothing, can significantly improve the quality of the photo. Don’t be afraid to give clear instructions – models often need the photographer’s specific vision to fully convey the intended effect.
Post-Production
The last but equally important stage is post-production. Proper photo editing can bring out the best in them. Learn the basic editing tools in programs like Adobe Lightroom or Photoshop. Work on brightness, contrast, colors, and sharpness, but remember not to overdo it – naturalness is key. Post-production is also a great opportunity to give your photos a unique style and character. Just like in the point about finding inspiration, if there is a photographer whose photos you really like, there is a good chance they are well-known. In this case, there is a chance they sell their presets for Lightroom. They are ready-made ways to edit photos and can often be purchased for just a few dollars.
We wish you successful experiments with photoshoots!


